設定シーン
-
tnantoka
- 2013年11月16日
引き続き軽いお題で、設定画面です。
言語の日英切り替えと音のON/OFF、スペシャルサンクスなどを表示します。
コードは単純で、前回作ったSJTapNodeとSKLabelをただ並べているだけです。
1点、コンテンツの高さがシーンより大きくなるので、以下のようにスクロールを実装しています。
- (void)touchesMoved:(NSSet *)touches withEvent:(UIEvent *)event {

    UITouch *touch = [touches anyObject];
    CGPoint positionInScene = [touch locationInNode:self];
    CGPoint previousPosition = [touch previousLocationInNode:self];

    CGFloat translationY = positionInScene.y - previousPosition.y;

    SKSpriteNode *scrollNode = [self scrollNode];
    CGPoint position = CGPointMake(scrollNode.position.x, scrollNode.position.y + translationY);

    CGFloat top = -(scrollNode.size.height - self.frame.size.height);
    CGFloat bottom = 0;
    if (position.y < top) {
        position.y = top;
    } else if (position.y > bottom) {
        position.y = bottom;
    }

    scrollNode.position = position;
}
完成画面はこちら。
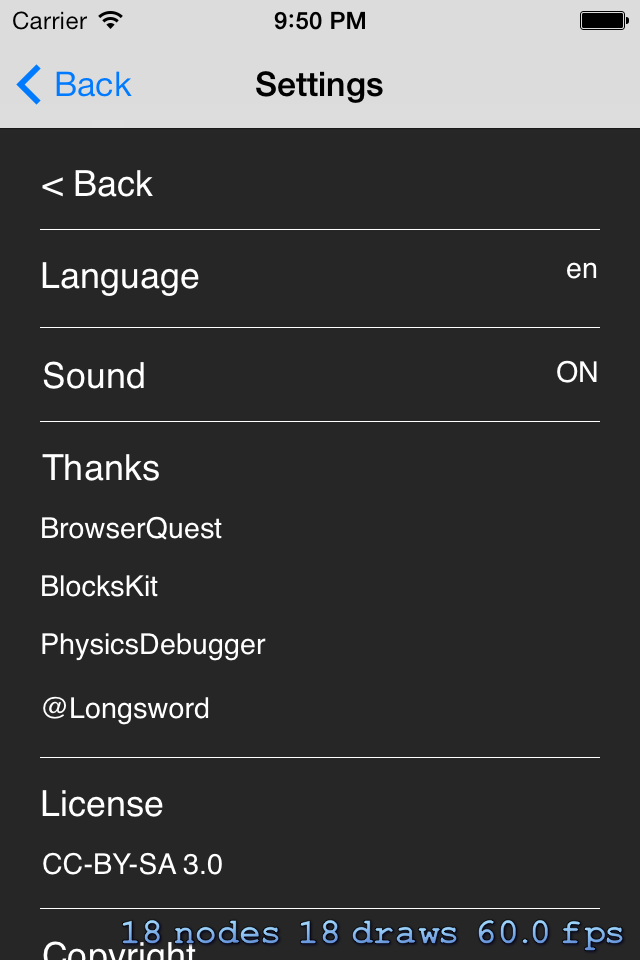
TableView風
今回はあえて、Sprite Kitを使っていますが、UIKit(UITableView)を使った方が確実に楽なので、そちらをオススメします。
ソースコード: sj-prototype-apps/SJRolePlaying at master · tnantoka/sj-prototype-apps
comments powered by Disqus
